Skin and lighting agree
Look for skin tones that fit the lighting across the whole scene. Isolated orange faces or gray hands are a reason to retry.
Colorization works best when the original photo still has clear faces, clothing boundaries, and background detail. The goal is believable color, not a modernized scene.
Before you start: every color this tool adds is an informed guess, not a recovered fact. A black-and-white print does not record the color of a dress, a wall, or a uniform, so treat the result as one restrained interpretation and keep the untouched scan as the historical record.
Open the colorize toolThe tool cannot know every original fabric color or room color. Treat the result as a careful interpretation, and keep an untouched scan for historical records.
Color can make a photograph easier to relate to, but it does not turn an estimate into a historical fact.
Look for skin tones that fit the lighting across the whole scene. Isolated orange faces or gray hands are a reason to retry.
Inspect hair, collars, uniforms, flowers, and furniture. Color should not bleed across object boundaries or erase fine detail.
The original color of clothing, walls, or vehicles may be unknowable. Keep the black-and-white scan beside the colorized interpretation.
Some photos should not be colorized yet, and some results should not be kept. These are the cases where the color step breaks down.
When a face is only a few pixels tall, skin tone, age, and expression become guesses. Compare identity against the original before keeping the result.
Scratches, stains, or missing pieces across a face or patterned fabric can be filled with invented color. Repair the damage first, then colorize the cleaned scan.
A sepia print or a badly faded color photo is not black and white, and colorization can misread the cast. Restore the fading first, then decide whether color is still needed.
Heavy compression erases the grayscale gradient the color estimate relies on. Scan the print again instead of colorizing a messaging-app copy.
The original color of clothing, vehicles, signs, and walls is often not recoverable from grayscale. A plausible result is still a guess — label it that way in family records.
This illustrated wedding example shows a restrained interpretation. It demonstrates the review method; it is not evidence of the original colors.
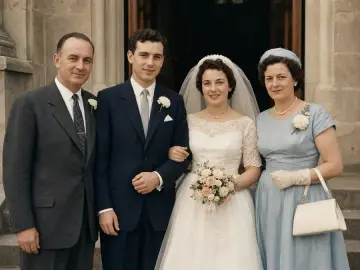
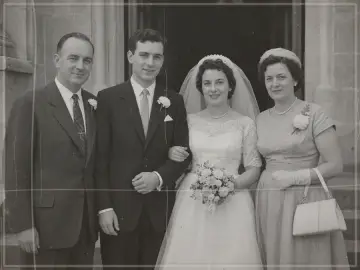
This illustrated example shows one restrained color interpretation. The original scan remains the historical reference.
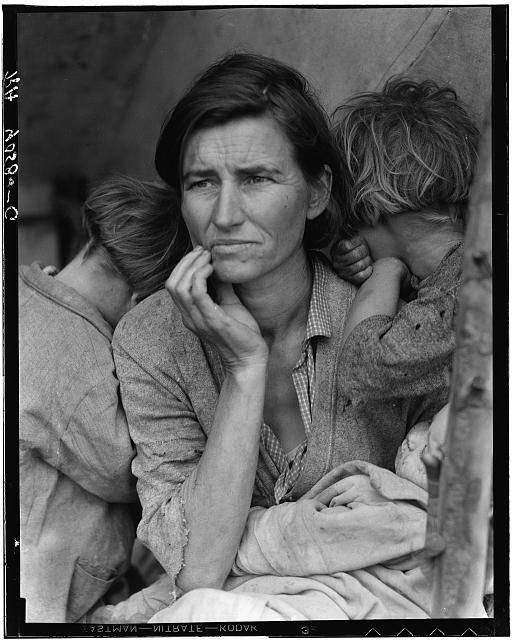
The pairs above are illustrated interpretations made for this site. For a real test, download this 1936 photograph — Dorothea Lange's Migrant Mother, held by the Library of Congress with no known restrictions on use — and run it through the preview above. Judge the colorized result with the same checklist: skin and lighting, edge control, and labels for colors nobody can verify.
Source and rights: Library of Congress, public domain · Sources, usage rights, and generation method for every sample on this page are recorded in /samples/PROVENANCE.md.
These three pages handle different problems. Running them in the wrong order makes each one less reliable.
1 · Repair first
Scratches, tears, stains, and folds mislead the color step. Fix physical damage before adding color.
2 · Then colorize
This page. Add color only after the surface is clean and faces are readable.
3 · Enhance or upscale last
Sharpen soft detail after color looks right; prepare prints with the upscale tool.
Not always. It can infer plausible colors from the scene, but clothing, paint, uniforms, and objects may still be guesses.
Usually yes. Repair visible damage first so scratches and missing areas do not mislead the colorization step.
Use a clear grayscale or sepia scan with visible faces, clothing boundaries, and background detail. Avoid screenshots and heavy compression.
Keep exploring
Move from the focused tool to the guide, a safer review path, or the next step in the restoration workflow.